Deploying Virtual Appliance in vSphere

Deploying Virtual Appliance in vSphere
The Virtual Appliance (VA) has two disks: the first one (20 GB) contains the Linux OS with NAKIVO Backup & Replication, and the second one (500 GB) is used as a backup repository. If you deploy the Virtual Appliance disks using the Thin Provision option, then the disks will not reserve space on your datastore and will only consume space when actual data (such as your backups) is written to disks.
To deploy the Virtual Appliance, follow the steps below:
1.Log in to vSphere client and choose Deploy OVF Template from the File menu:

2.On the Source step, click Browse, locate and select the file with the template, and click Next.
3.On the OVF Template Details step, review the template details and click Next:
4.On the End User License Agreement step, read the license agreement. If you agree to its terms, click Accept and then click Next
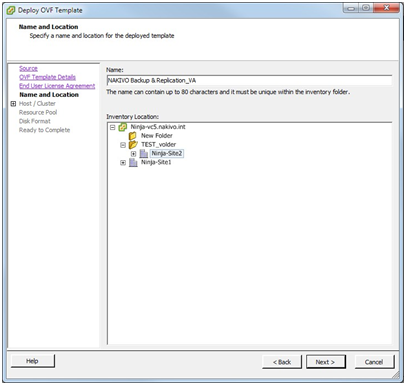
5.On the Name and Location step, specify a name and location for the Virtual Appliance and click Next.

6.On the Host / Cluster step, select a host or cluster where you would like to deploy the Virtual Appliance and click Next.

7.On the Resource Pool step, select the resource pool within which you would like to deploy the Virtual Appliance and click Next.

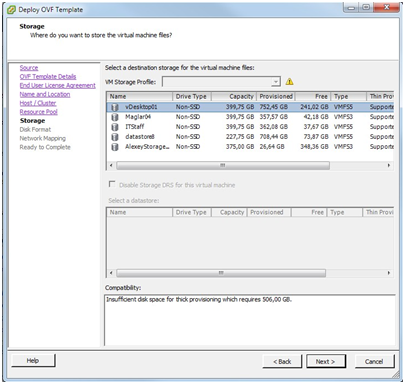
8.On the Storage step, select a datastore where you would like to keep the Virtual Appliance disk and click Next.

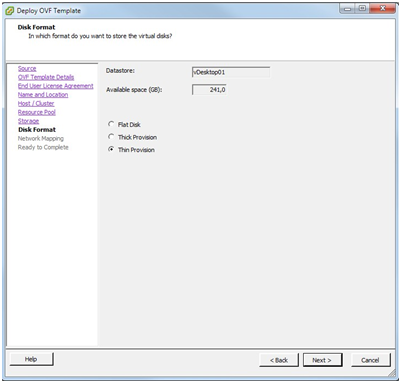
9.On the Disk Format step, choose a disk format for the Virtual Appliance, the Thin Provision option is recommended. Click Next.

10.Network Mapping step, select a network to which the Virtual Appliance will be connected. Choosing a network with DHCP and Internet access is recommended. Click Next.
11.On the Ready to Complete step, review the summary of the setups you have configured and select the Power on after deployment option. Click Finish to complete the deployment.
12.After the Virtual Appliance is deployed, you may need to configure it.
資料來源: 原廠NAKIVO(https://www.nakivo.com)此篇文章之權利屬於NAKIVO所有
